In the sections Working with Remote Repositories, we looked at a simple scheme where everybody can both read and write from a common repository without constraints. This works well for a small organization with a limited number of teams working on a reasonably small common project. However, when the number of teams grows and the complexity of the application increases, it's useful to have some constraints on the process of pushing contents to the master branch in the common repository. For example, you may want to enforce code reviews before changes are delivered.
Git supports many different workflows to suit different teams and organizations. See for example Distributed Git - Distributed Workflows to learn more about some typical workflows. In many workflows there is often one main common repository that represents the official version of the application source code. Then there is a scheme put in place with a "guardian" that controls who can push changes to this common repository and how they can do so.
One common scheme that we will look at in this section is to use Gerrit as the guardian https://www.gerritcodereview.com/. The details of the process that guards the master branch is configurable and is outside the scope of this document. Fortunately the overall workflow as seen from our Model RealTime developer's point of view is similar for most scenarios.
When using Gerrit the common main repository is usually hosted on the Gerrit server. Getting access to a repository from a Gerrit server is no different than from any other remote server. So the process is the same as is described in Accessing a Remote Git Repository The only aspect to be aware of is that you often need to use the SSH protocol to access the Gerrit repository. It is possible to change after cloning, but easiest to handle already from the beginning.
When you have cloned the repository you will need to tell Model RealTime that you want to enable Gerrit specific commands for the repository and identify the remote that is to be used for the Gerrit specific commands.
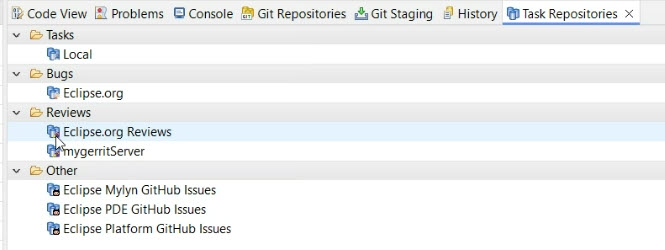
In some cases the Gerrit configuration will be set up automatically. You can check if it's already set-up by looking at the icon for the repository in the Git Repositories view. This is the case if the icon shows a small green and red decorator.
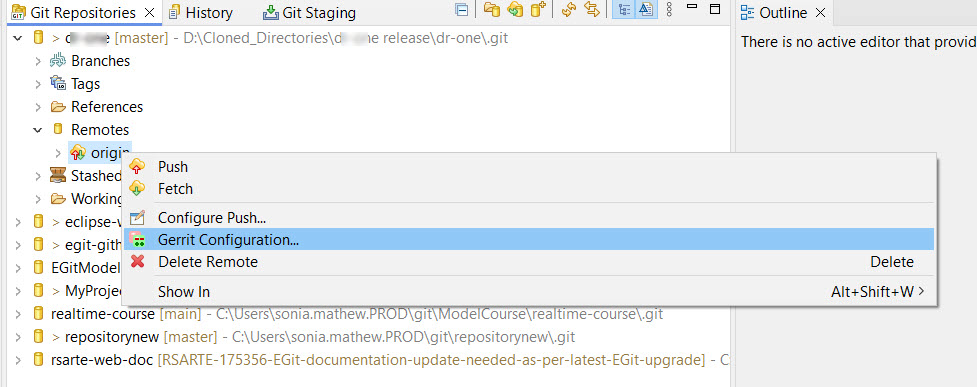
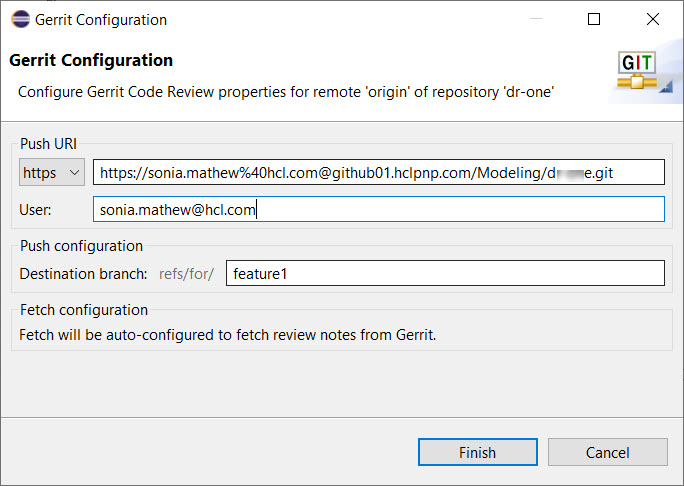
In any case you can check and change the configuration using the Gerrit Configuration command that is available in the context menu of the Git Repositories view when a Remote is selected.
The Gerrit configuration makes it possible both to set up the access method and remote address of the Gerrit server as well as the review branch in the Gerrit repository to which you will push review requests.
When the repository is enabled for Gerrit you will find some extra features, in particular the ”Push to Gerrit” and ”Fetch from Gerrit” context menu commands that are available for models in the Project explorer and repositories in the Git Repositories View.
The purpose of Gerrit is to enable some form of review of commits, for example code reviews. To accomplish this two key concepts are used:
”change ids”: A unique identifier that identifies a review request in Gerrit.
”for” branches: Branches in the Gerrit hosted repository that contains the commits to be reviewed.
In Model RealTime you will see the change ids at the end of commit messages. The recommended practice is to use a Git commit hook that automatically will add the change id when you commit a change in Model RealTime. This can be downloaded from the Git repository and we will assume that you use this hook. The result is that if you check your commits for example in the History view, you will see lines starting with ”Change-Id:” followed by a long identifier added to all your commit messages.
The "for" branches will show up when you push changes to Gerrit. While configuring Gerrit, we still use a remote tracking branch for fetching changes, but when pushing we instead push to a special "for" branch on the Gerrit server. The idea is that someone using Gerrit will review our changes (and potentially do other checks, like building and running tests) and if all is fine deliver the change we proposed. The change will then automatically be merged to the ”real” branch and we can retrieve the new version using a fetch. We will take a close look at the push and review support later in this chapter.
A Gerrit server is really no different than any other remote Git server. This means that the commands you will perform for understanding version history, investigating commits, committing local changes etc are all the same. The only difference is the ”change ids” that will appear in commit messages.
Also, fetching changes from remote repositories and working with a team on shared remote branches follows the same principles. The exception being of course the review process that will change the way you push your changes. But actually, depending on how your Gerrit server is configured, you can perhaps also continue to push as described previously in this document, not starting a review process with Gerrit. This depends on the policy used by your organization to handle contributions to the common main repository maintained by the Gerrit server.
When you want to push a commit you have created for review using Gerrit, you will as mentioned before push to a special branch identified by a ”for” prefix. In most cases the branch identification will look something like ”refs/for/mybranch” instead of the usual ”refs/head/mybranch” that we have seen before.
If doing this from command line you would use a command similar to the following:
git push HEAD:refs/for/mybranch
This particular command assumes that:
"mybranch" is the name of the branch you want to push to, and
you have the corresponding local branch checked out so HEAD identifies the commit you want to push.
If using the Model RealTime user interface you will have a ”Push to Gerrit…” command available for repositories in the Git Repositories view. Also in this case you will need to have the local branch checked out so HEAD identifies the commit that you want to push for review.
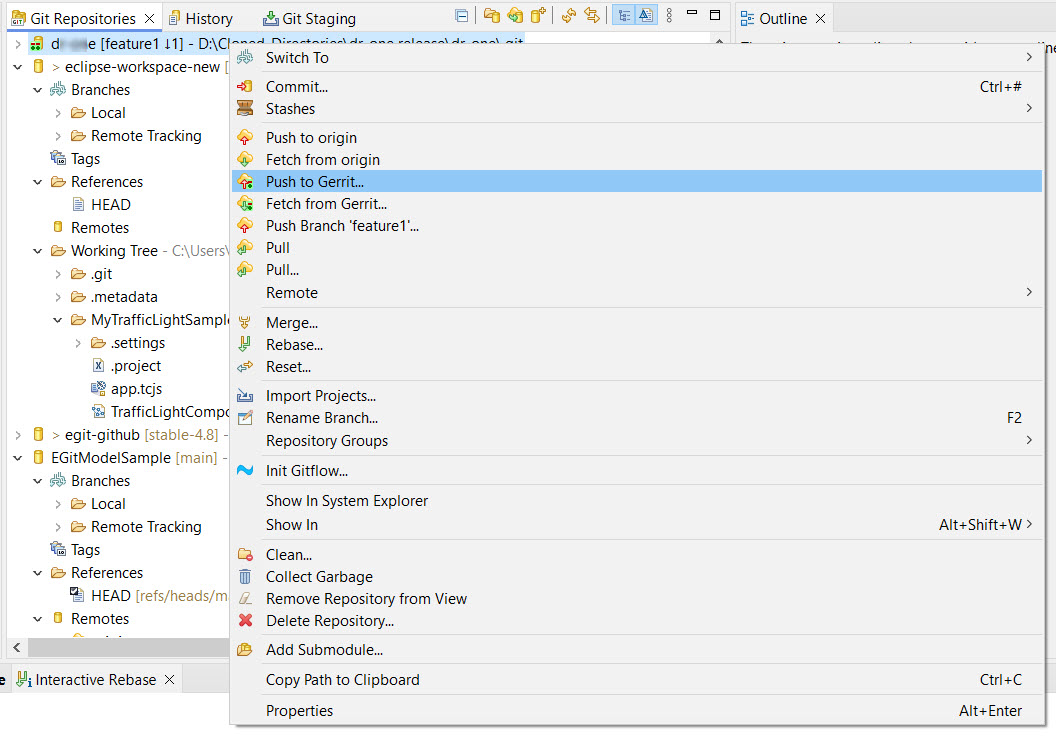
This will pop a dialog where you can specify the push details.
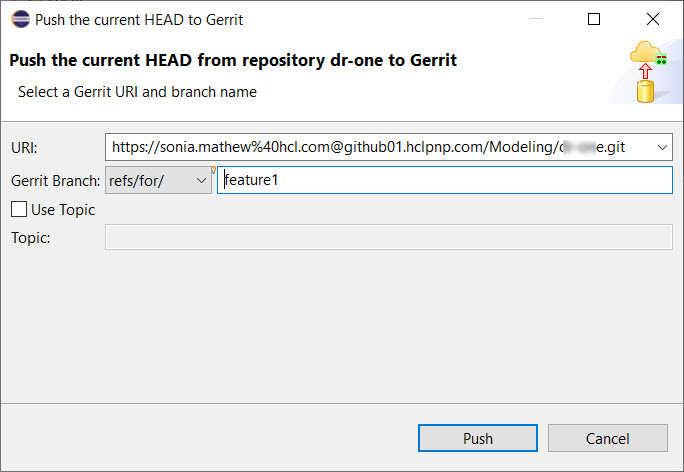
It is worth noting that the ”Gerrit Branch” field supports name completion. If you press Control-Space in this field you can choose between the currently available branches. After pressing the Finish button your commit becomes available on the Gerrit server for review.
Mylyn https://www.eclipse.org/mylyn/ is a task and application lifecycle management framework for Eclipse. From an Model RealTime point of view Mylyn has one very important feature: It enables reviewing Gerrit changes directly from within Model RealTime. Having to use the Gerrit web interface for comparing model files is not very convenient since you then have to look at the textual format for the model files. With Mylyn you can use the Model RealTime Compare editor for looking at the changes.
Mylyn contains many additional features and you can find a good description of both the review support and other features in the Mylyn User Guide. In this section we will only look at the basic steps you are likely to need when reviewing Gerrit change requests.
If Mylyn is not installed by default in your Eclipse you can download it from https://www.eclipse.org/mylyn/ and install it using Help - Install New Software in Model RealTime.
When installing it is recommended to install at least the following features:
"Mylyn Task List"
"Mylyn Task-Focused Interface"
"Mylyn Reviews Connector: Gerrit"
"Mylyn Reviews Connector: Gerrit Dashboard"
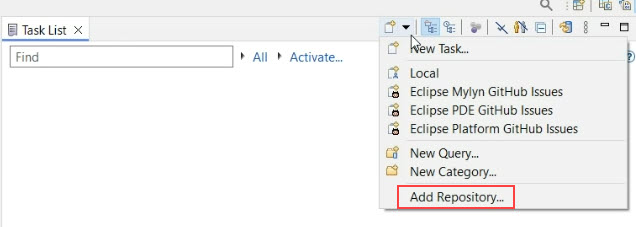
Before you can use Mylyn for review you also need to connect it to your Gerrit server. This can be done from the ”Task List” view of Mylyn. A convenient way is to open the ”Planning” perspective in Eclipse. This is also a useful perspective for reviewing changes as we will see in the next section.
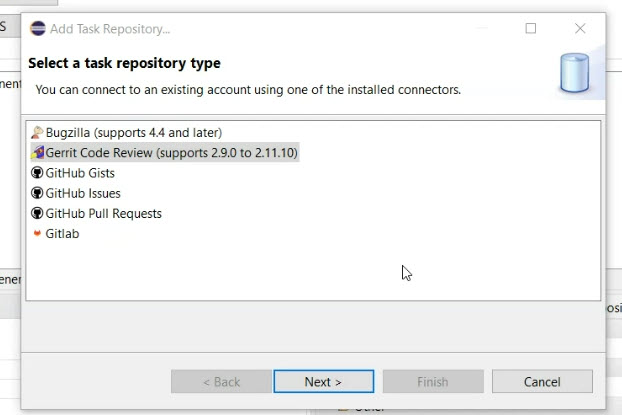
In the Task list you can use the ”Add Repository…” command to connect to Gerrit.
Choose the Gerrit connection if you have more than one Mylyn connection installed.
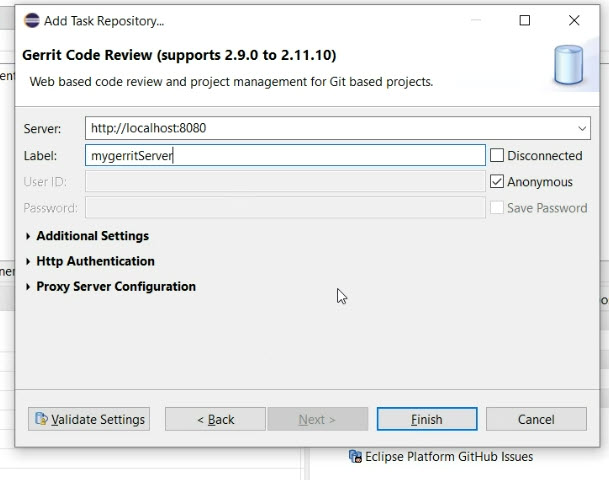
You need to specify the URL of your Gerrit server and your login credentials on the wizard pages that follows.
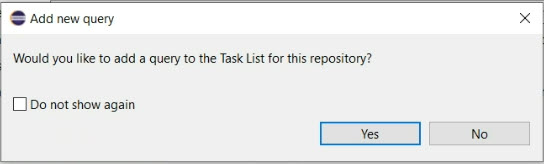
It also makes sense to choose to add a query automatically when prompted.
Select an appropriate Query type to set the scope of what you want to see.
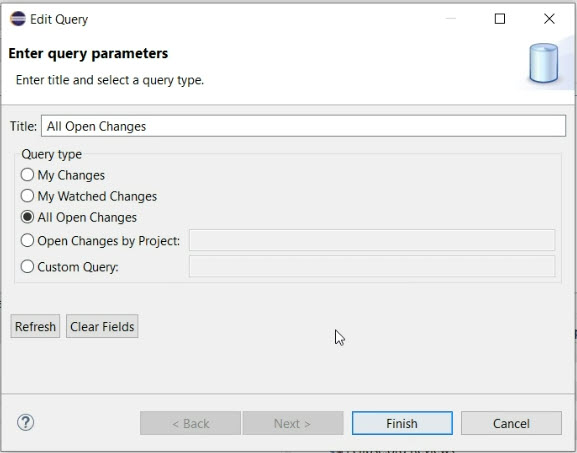
When done you will have a Task List view that is configured to show review requests from your Gerrit server.
To review changes assigned to you or others, open the "Task List" view and locate the relevant query node. Double-clicking a match will display the Mylyn view with detailed review request information. In Model RealTime, you can directly access change set contents by clicking "Compare with Base." This opens a structure compare view listing all changed files. Double-clicking a model file opens the Model RealTime compare editor, where you can add comments and take actions that will be automatically pushed back to the Gerrit review server.
To address reviewer comments on a previously pushed Gerrit commit, Git's commit amendment feature is useful. This allows you to modify the changes in the existing commit. In Model RealTime, checkout the commit you want to change, open the Git Staging view, and click "Amend Commit." Make your modifications, stage the changes, and push the commit to Gerrit again. Ensure the "Change-Id" line remains unchanged to update the existing review request rather than creating a new one.