Not all merge and rebase operations are as straightforward as the scenarios described in the Merge and Rebase topic. Each time a merge or rebase is performed, there is potential for one or more conflicts to arise. This chapter provides guidance on how to resolve these conflicts effectively.
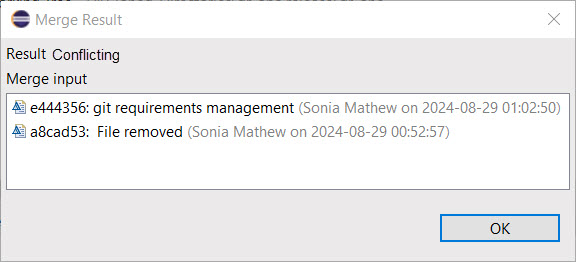
When merge conflicts occur, you will be notified by the information dialog that pops up after the merge or rebase operation has completed. Here is an example of what that dialog may look like when a merge leads to a conflict.
The view that is used for understanding and resolving the conflict is the Git Staging View. If you open this view when the repository is in a conflict state, you will see the text "Repository state: Conflicts". This tells you that the conflicts must be resolved before you can commit your changes. The Commit buttons will not be enabled until the conflicts have been resolved.
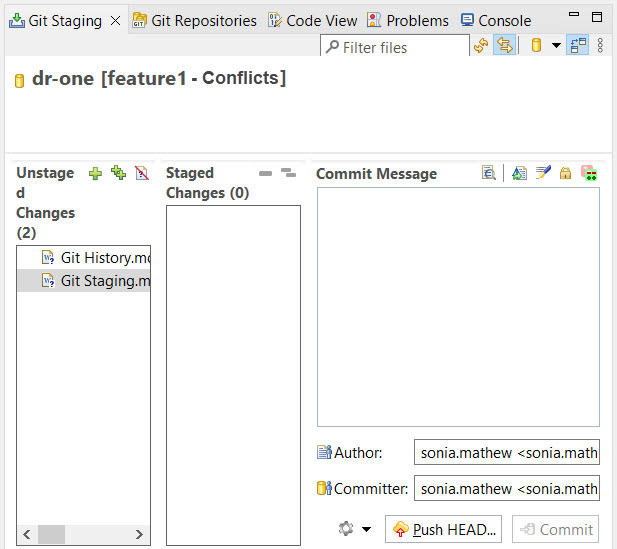
The files that contain the conflicting changes are marked with a small red icon, not only in this view but also in others such as the Project Explorer.
To resolve conflicts you use the Merge Tool command. Right-click on a file marked as conflicting and perform the context menu command Merge Tool.

Just like when merging or rebasing, a dialog will ask you what kind of merge tool to use.
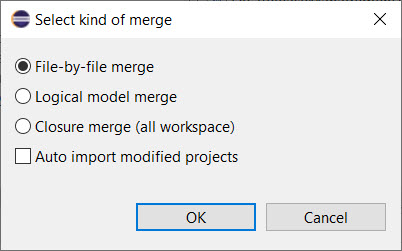
In most cases it's recommended to use Closure merge since it leads to fewer merge sessions, and more accurate descriptions of the conflicting changes. This helps you understand how to best resolve the conflicts.
The Merge Tool command invokes the interactive merge editor of Model RealTime.
See Comparing and Merging Models for information about how to use this merge editor in order to inspect and resolve the conflicts.
After the merge session has been completed, all modified files will by default be added to the Git index automatically. If you don't like this behavior you can disable the preference Team - RSx EGit Integration - Automatically add resources to index after resolving conflicts.
Note: For historic reasons the Model RealTime merge editor uses the term "commit" for completing a merge session. Hence, it has nothing to do with committing in Git. In particular, the modified files will not be automatically committed to Git when the merge session is "committed".
The Merge Tool command can also be used to resolve conflicts in non-model files. If you invoke the command on such a file, different interactive merge tools are invoked based on what kind of file it is.
From the command line you can invoke the merge tool using the command git mergetool or git mergetool
The same warning as for merge and rebase also applies to Git mergetool: Do not use Git mergetool for model files if you do not have an integration with Model RealTime that triggers Model RealTime as the mergetool driver for model files. This is likely to cause model corruption. See the section Integrating Model RealTime with Command Line Git for more information about how to integrate Model RealTime with Git command line merge.
Due to the complexity of creating a merge tool integration with good performance that supports closure merge, the currently recommended best practice is to use the Model RealTime graphical user interface and the Git Staging View to resolve merge conflicts.
The Git rebase operation involves a series of merges, so handling conflicts during a rebase is quite similar to dealing with them in a merge scenario. However, the key difference is that after resolving conflicts during a rebase, you'll need to continue the rebase process rather than simply committing the merge result.
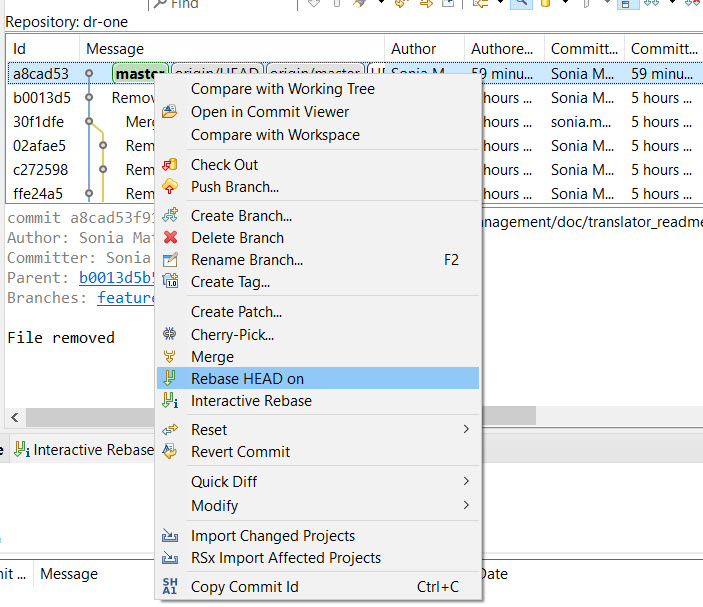
To demonstrate, let's use the Rebase command in the History view to rebase a feature branch onto the master branch.
Unlike the straightforward results dialog you'd see with a merge, a more detailed Rebase Result dialog appears, outlining the rebase's current state.
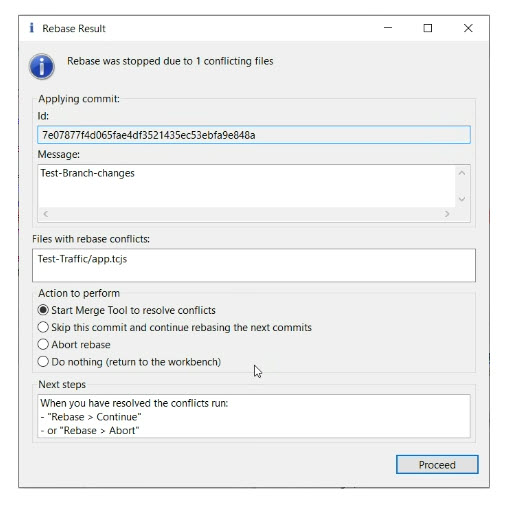
At this stage, it’s recommended to select "Do nothing (return to the workbench)" and then use the Git Staging View to perform the Merge Tool command. Avoid launching the Merge Tool directly from this dialog, even though it's the default option.
Once you've resolved the conflict in the merge editor and finished the merge session, click the Continue button in the Git Staging View to proceed with the rebase.
You can continue resolving any further conflicts through the Git Staging View.