Help > Welcome.
When the Workbench is launched, the first thing you see is a dialog that allows you to select where the workspace should be located. The workspace is the directory where your work will be stored. For now, just click OK to pick the default location.
After the workspace location is chosen, a single Workbench window is displayed. A Workbench window offers one or
more perspectives. A perspective contains editors and views, such as the Project Explorer. Multiple Workbench windows
can be opened simultaneously. Initially, in the first Workbench window that is opened, the Java perspective is
displayed, with only the Welcome view visible. Click the arrow labeled Workbench in the Welcome view to cause
the other views in the perspective to become visible. Note you can get the Welcome view back at any time by selecting
Help > Welcome.
A shortcut bar appears in the top right corner of the window. This allows you to open new perspectives and switch between ones already open. The name of the active perspective is shown in the title of the window and its item in the shortcut bar is highlighted.
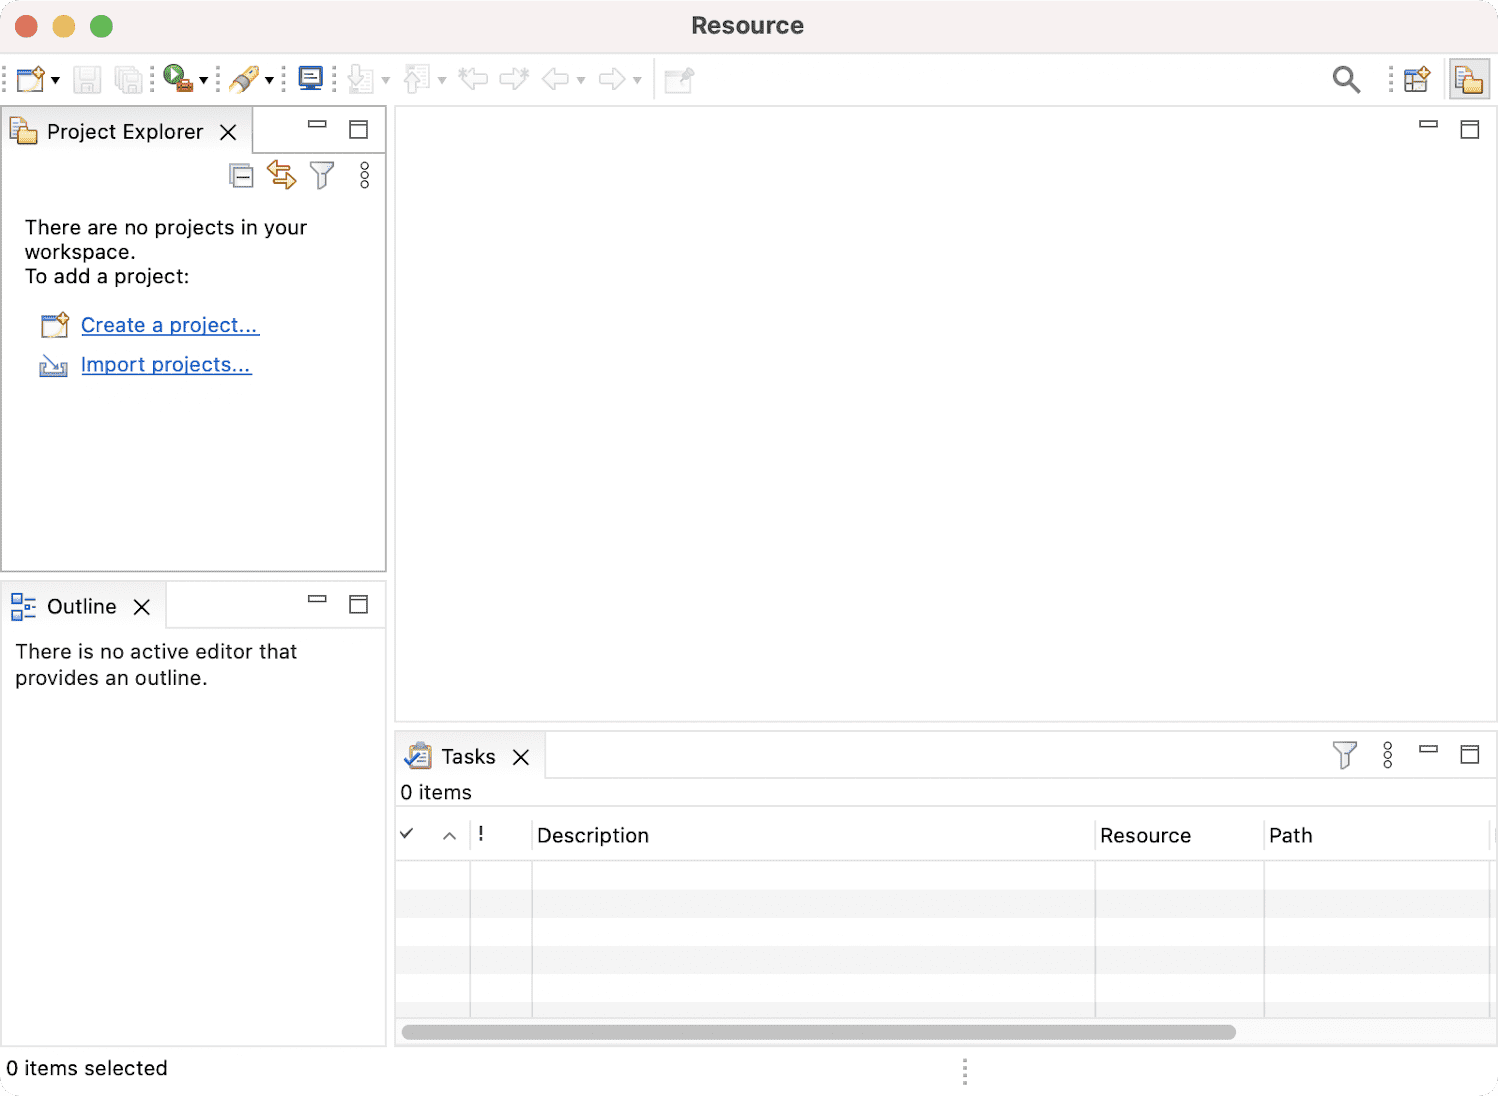
You should be seeing the Java perspective. We will switch to the simpler Resource perspective to simplify this
tutorial. Select
Window > Perspective > Open
Perspective > Other... > Resource. The Project Explorer, Outline, and Tasks views should now be
visible.