In Git, checking out a branch allows you to switch between different versions of your project, stored in the repository’s history. This process can be performed either via the command line or through the Model RealTime user interface. Checking out a branch updates your working directory with the contents of that branch and sets it as the base for future operations, like commits. The following sections outline how to perform this task using both methods.
Using the Command Line:
List Available Branches:
Use the command git branch to display all available branches in your repository.
Check Out a Branch:
Run git checkout <branch> to replace your working directory's contents with those from the specified branch. This also sets the branch as the starting point for subsequent Git operations, such as committing changes.
Important: After checking out a branch via the command line, ensure that you refresh the Model RealTime workspace before continuing to work with your models. This can be done by selecting the File - Refresh Workspace command. This step reloads any open model files and ensures the correct version is loaded.
Using the Graphical User Interface:
The History view provides a user-friendly way to check out a branch. If you are looking for a specific commit, you can use the Find Toolbar to search for it, or simply browse through the history.
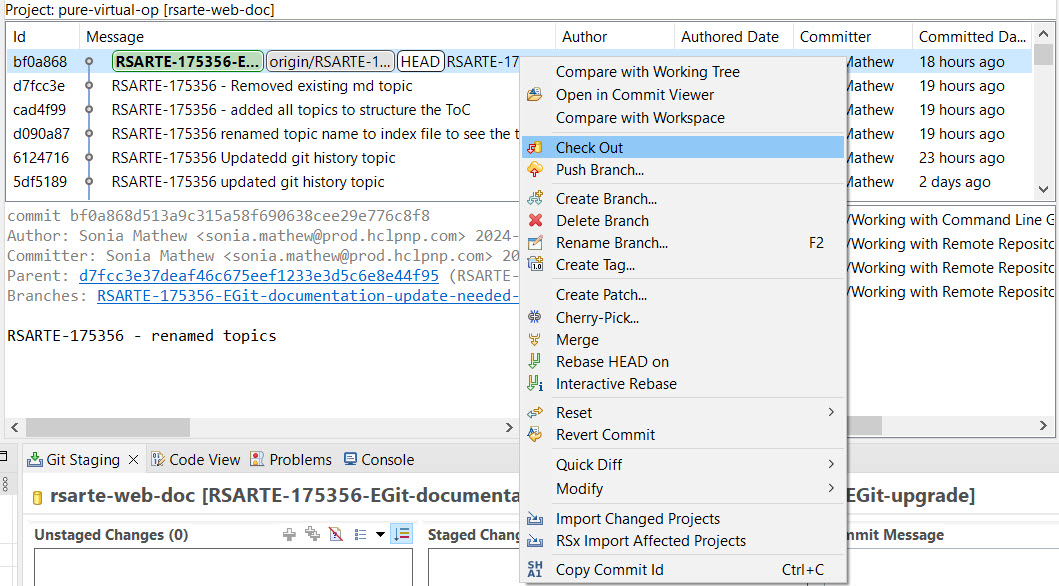
The branch currently checked out is displayed in bold, and the current commit is labeled with "HEAD." To check out a different branch, select a commit associated with a branch (indicated by a green box before the commit message), and use the "Check Out" command from the context menu in the History view.
This action updates your working directory with the selected branch's contents and tells Git that this is the current commit, as marked by "HEAD."
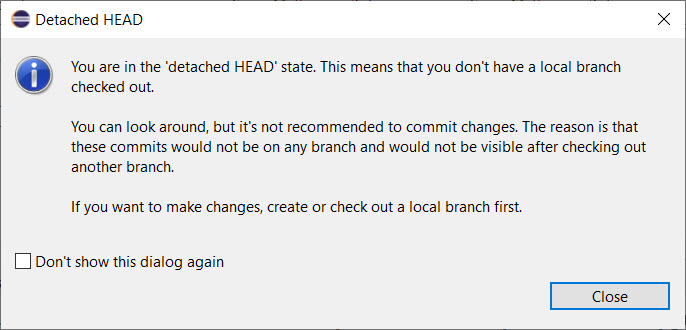
You can also use the "Check Out" command on commits that are not on a branch. This lets you view that commit’s contents. However, avoid making any changes in this state, as there is no branch where your changes can be committed. A warning dialog will notify you if you attempt this:
When checking out a branch from the user interface, the workspace refreshes automatically, so you don't need to manually use the File - Refresh Workspace command.
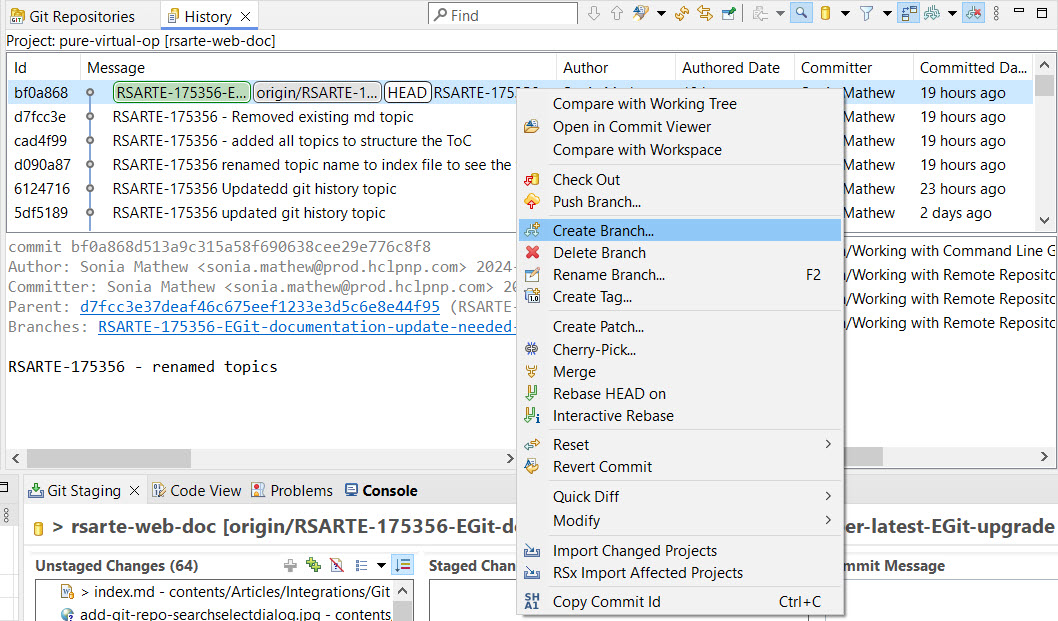
To create a new branch in the History view, first select the commit from which you want the new branch to start. Then, choose "Create Branch" from the context menu.
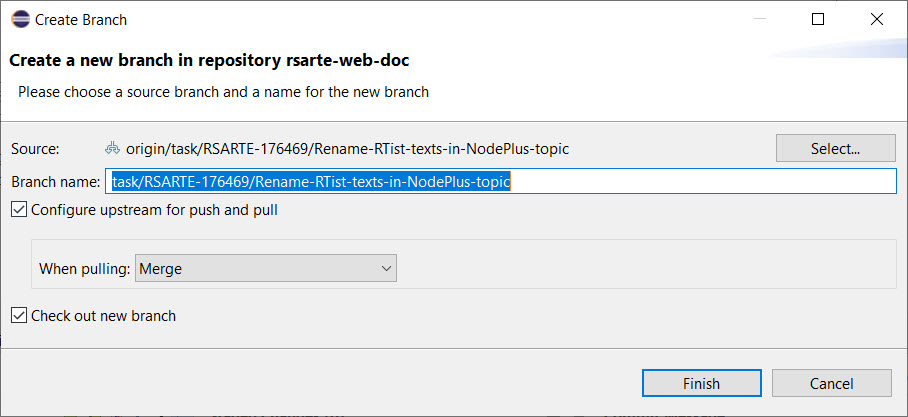
A dialog will appear, prompting you to name the new branch. If you want to check out the branch immediately after creation, keep the "Checkout new branch" checkbox selected.
You can achieve the same result via the command line with the command git checkout -b <branch>.
In the Git Repositories view, you can check out branches by right-clicking on a local branch and selecting the "Checkout" option.
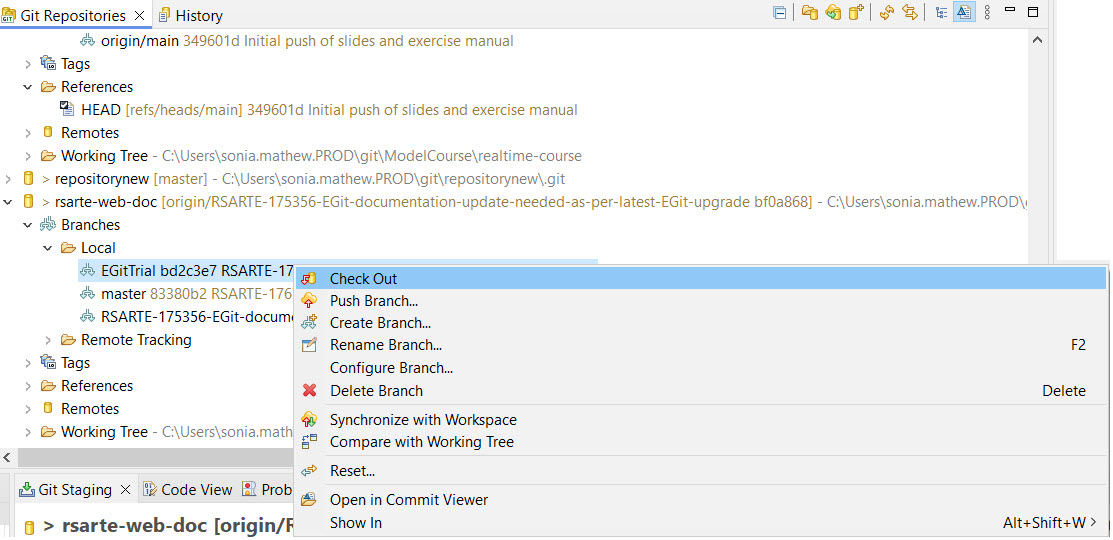
This context menu also includes options to create and delete branches. However, note that you cannot delete the branch that is currently checked out.