Plug-ins are the most flexible way of extending the DevOps Modeling Platform. They enable the creation of extension to extension-points as well as providing full debugging support. One of their limitations is that they require the use of a separate workbench for testing during development.
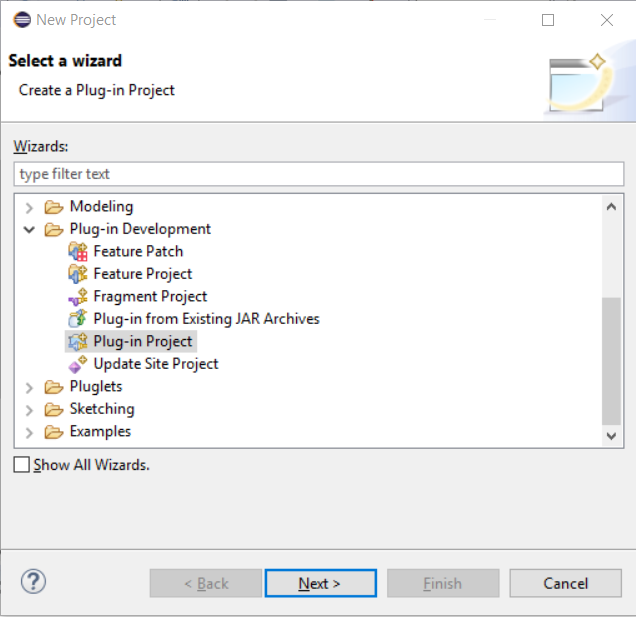
Creating a plug-in requires the creation of a Plug-in Project. Such a project contains one and only one single plug-in. This is accomplished by running the New Plug-in Project wizard accessible from File > New > Project....
Choosing Plug-in Project within the Plug-in Development category, and selecting Next will lead to the Plug-in Project page.
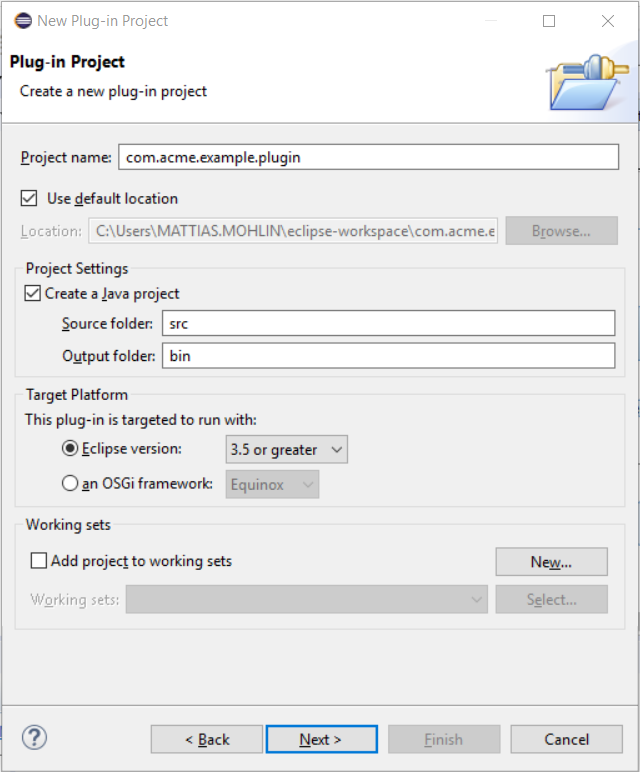
The new project name should be entered in the Project name field. Selecting Next will bring the Plug-in Content page.
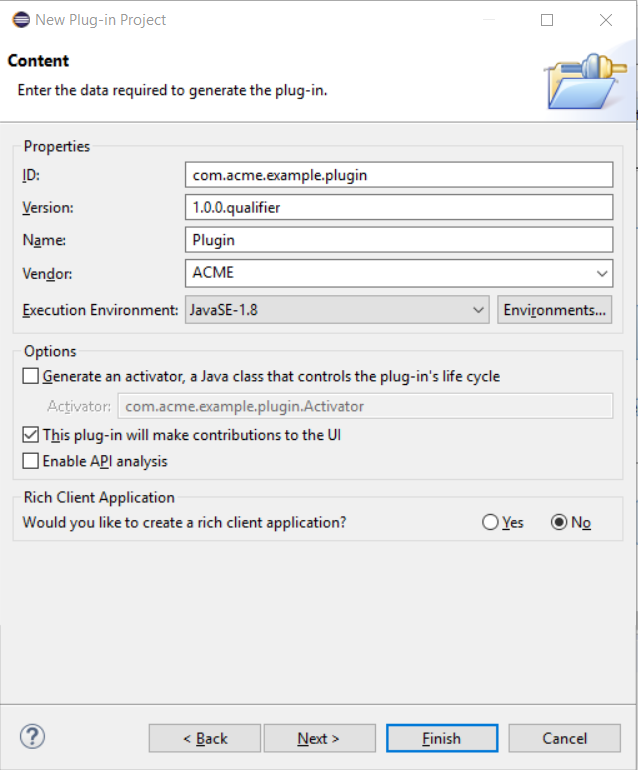
This page is used to capture the name and provider of the plug-in. Selecting Next results in the Templates page appearing.
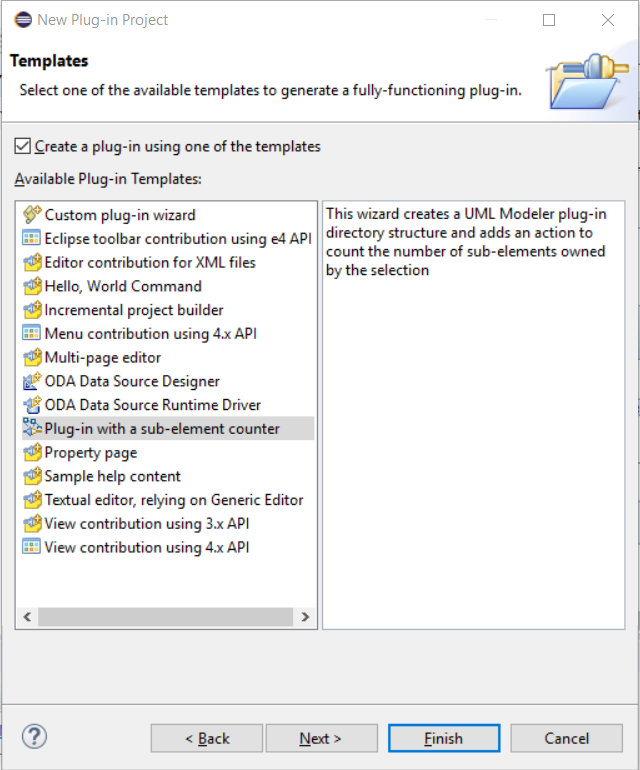
Using the templates listed in this page, the new plug-in will be capable of performing a specific task. Selecting Plug-in with a sub-element counter and selecting Next will lead to a page specific to this template.
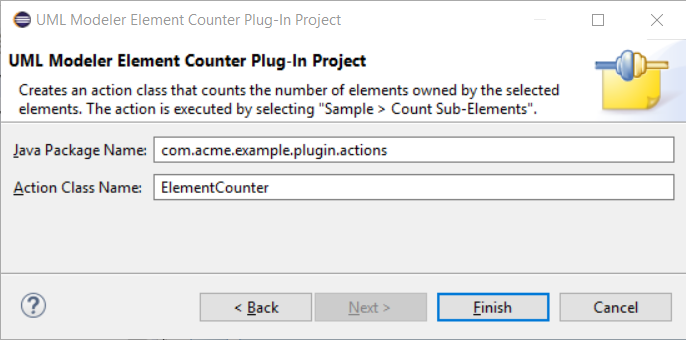
The UML Modeler Element Counter Plug-in is a very simple plug-in that counts the number of elements owned by the selected element. It demonstrates how to add a menu item, how to get the selection, how to access the model, and finally how to setup dependencies to extend the UML Modeler. This wizard page allows users to specify the Java package and class name of the action that will perform the count behaviour. Selecting Finish creates the plug-in project and opens up the plug-in's manifest editor.
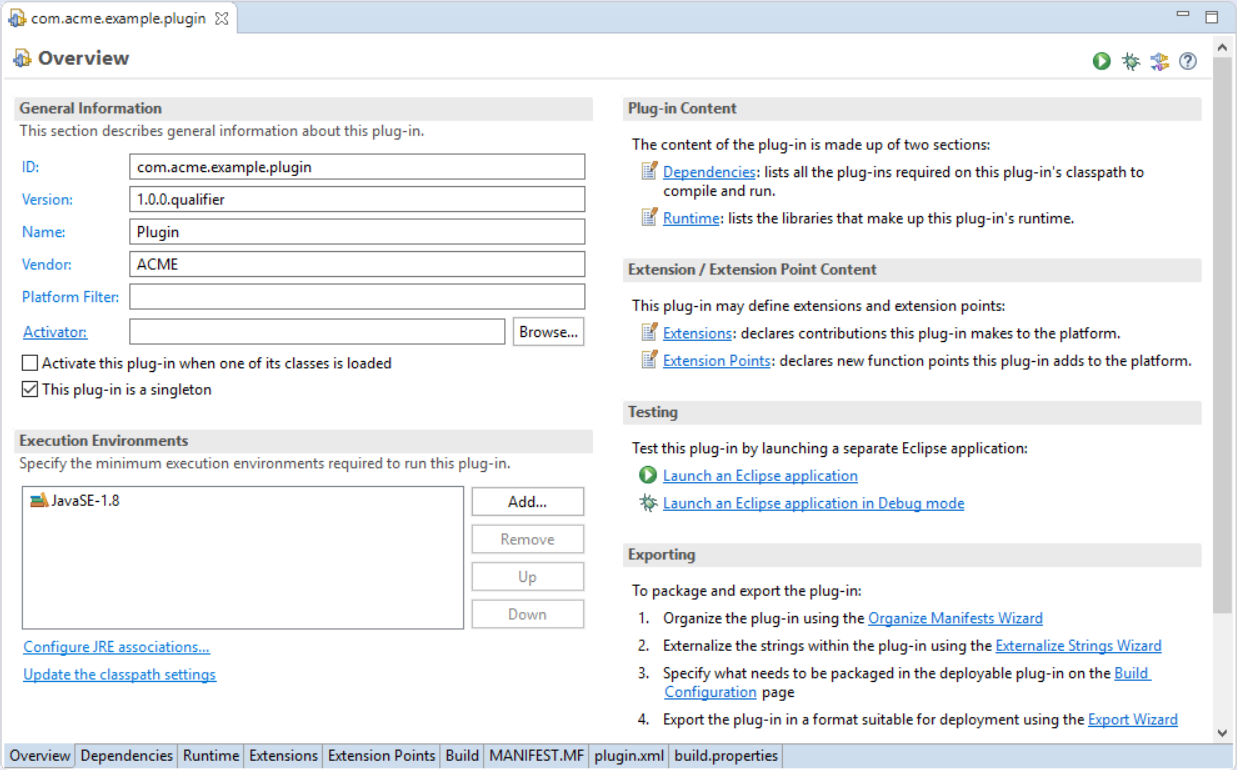
This editor is used to define various aspect of a plug-in. Its information are persisted in three
project files: META-INF/MANIFEST.MF, plugin.xml and build.properties.
Opening one of the first two files will invoke this editor. The various plug-in parameters are grouped by pages accessible
from tabs located at the bottom of the editor:
It is worth noting that the "Sub-element Counter" template chosen initialized the plug-in with a dependency
to com.ibm.xtools.modeler.ui, the plug-in owning the
UMLModeler
class. This plug-in in turn re-exports all of the dependencies visible from its APIs. For instance, when using
IUMLDiagramHelper,
there is no need to add a dependency to the com.ibm.xtools.uml.ui.diagram plug-in since this
dependency is re-exported by com.ibm.xtools.modeler.ui. Conversely, using an indexing API such as
IIndexSearchManager
requires the addition of a dependency to the com.ibm.xtools.emf.index plug-in.
Another addition by the chosen template is the extension to the org.eclipse.ui.actionSets
extension-point that can be appreciated from the Extensions tab. This extension adds a
Sample menu to the menubar and inserts in it a Sub-Element Counter Plug-in menu item.
Such menu item are associated with a class to be instantiated upon its selection. This class can be
discovered by selecting the node named Count Sub-Elements (action) from the All Extensions
section and looking at the class property available from the Extension Element Details.
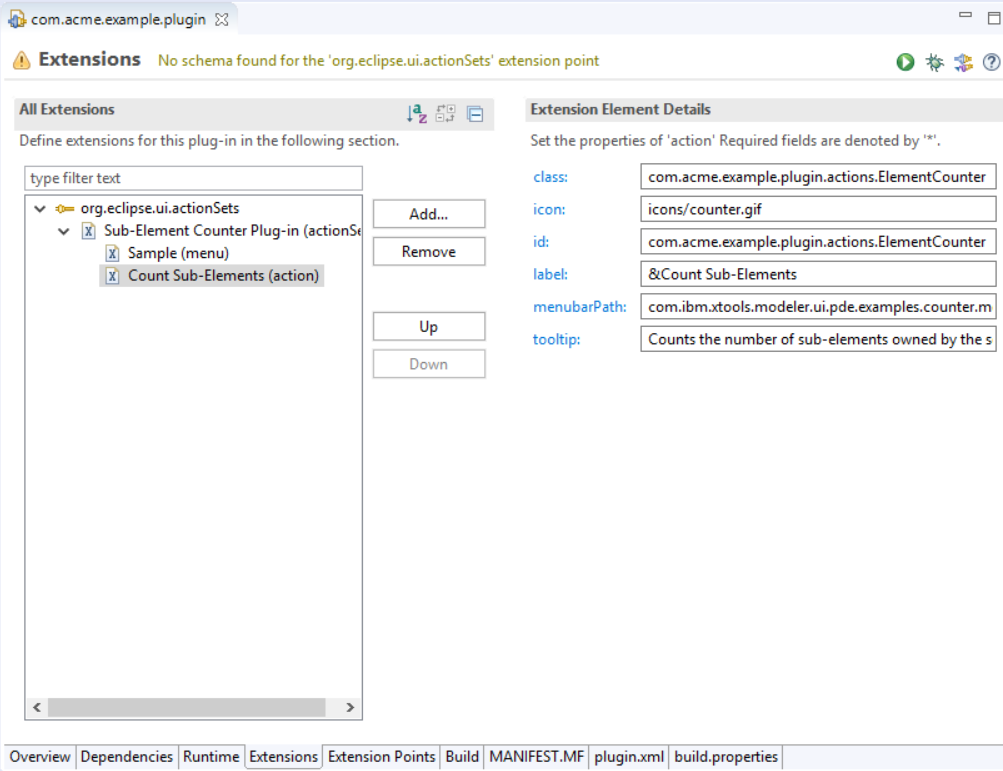
New extensions can be added by selecting the Add... button of the All Extensions section.
Running a plug-in is accomplished by selecting Run > Run Configurations... from the menu bar. This will bring up the Run Configurations dialog, which is used to configure the parameters for the run. Select Eclipse Application and select the New launch configuration button at the top of the tree control.
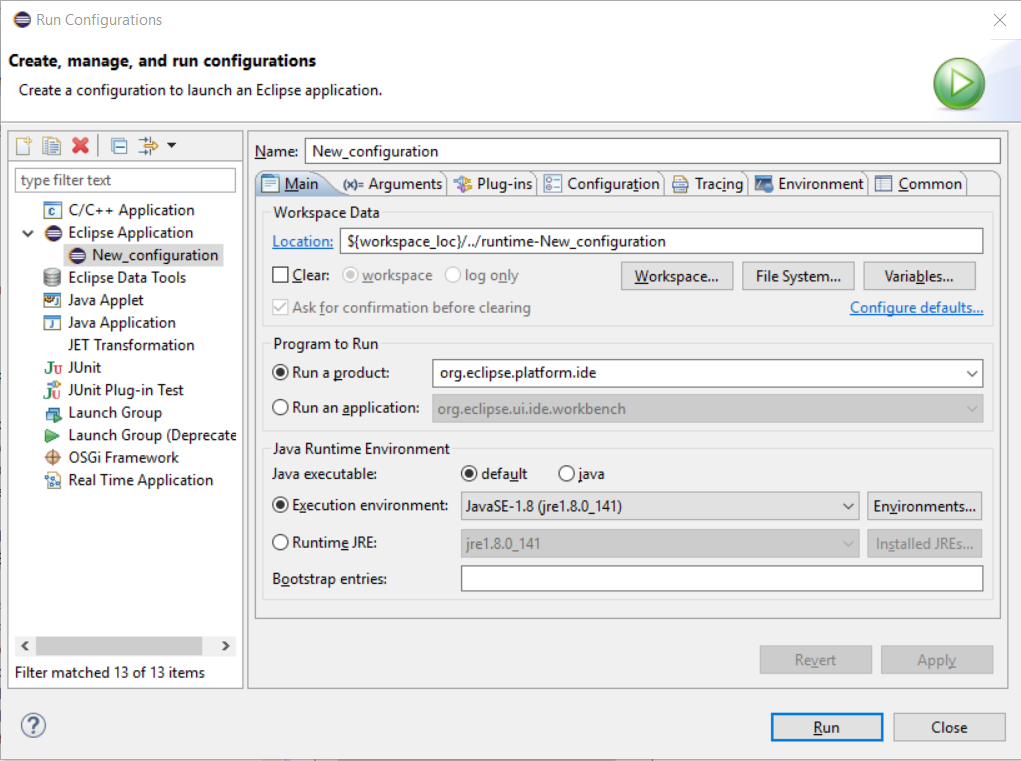
The page that appears is used to configure the Eclipse application that will be launched to test the plug-ins developed in the workspace. One of the parameters is the location of the workspace to use for this new Eclipse instance. Selecting the Configuration tab enables further customization of the launch configuration required by the DevOps Modeling Platform.
Selecting Run starts the new instance.
The new Eclipse instance is launched and contains every plug-ins in the host Eclipse development environment as well as all open plug-in projects developed in the workspace. This behaviour is configurable from the Run Configurations dialog. The sample menu item can be exercised by creating a new Model project, by selecting a UML element within the Project Explorer and by selecting Sample > Count Sub-Elements. Closing the new Eclipse instance will terminate the run session.
Plugins can be deployed in existing HCL Model RealTime installations. The best way to accomplish this is to create a so called P2 update site which contains the plugin. You can follow the steps documented here to learn how to create a P2 update site for deploying your plugin.
Once you have created the P2 update site you can install it into the HCL Model RealTime installation by selecting Help > Install New Software.
Once Eclipse has restarted, the plug-ins deployed within the Eclipse extension should be visible. In the current example, this is reflected by the Sample menu appearing on the menu bar.
